郑州做网站优化外包个人微信管理工具
对于IC设计从业者而言,获取准确的学习资源,行业资讯直观重要,今日我们推荐ic行业专业的宝藏网站,希望对从业者有所帮助。
01-找开源项目的网站
GitHub除了Git代码仓库托管及基本的 Web管理界面以外,还提供了订阅、讨论组、文本渲染、在线文件编辑器、协作图谱(报表)、代码片段分享(Gist)等功能。托管版本数量也是非常之多,其中不乏知名开源项目 Ruby on Rails、jQuery、python 等。
02-找学习资源
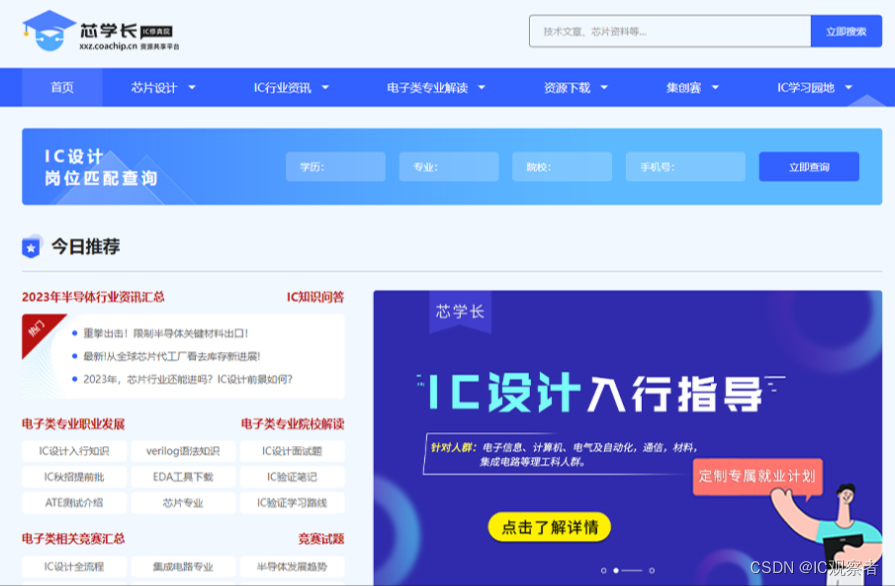
芯学长:https://xxz.coachip.cn/
芯学长网提供行业趋势、技术进展、学习资源及最新研究成果等信息,帮助大家了解最新的发展动态,提高专业知识和技能水平。由芯片设计、IC行业资讯、电子类专业解读、资源下载、集创赛、IC学习园地6大模块构成,用户可直接下拉菜单,我们能便捷地获取核心资讯和有价值的信息。
无论你是想深入学习还是扩展知识领域,它将成为你学习的好伙伴!
3、找学习经验
CSDN

CSDN是全球知名中文IT技术交流平台,包含原创博客、精品问答职业培训、技术论坛、资源下载等产品服务,我们可以在CSDN平台找到一些关于IC设计及验证的原创、优质的资料和教程。
04-找面试题
牛客网
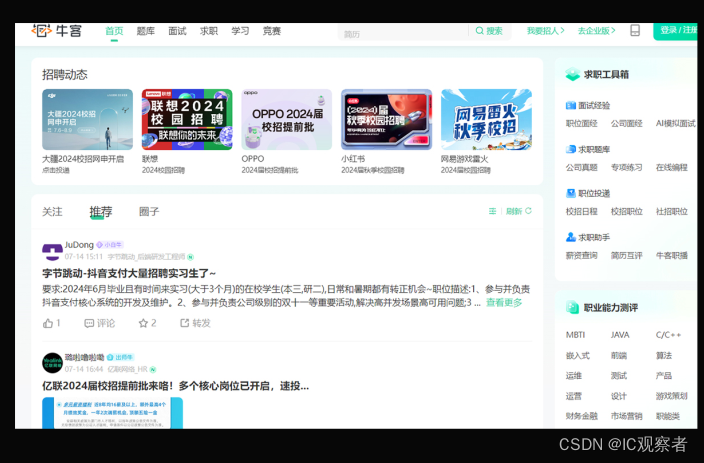
牛客网:是一个专注于互联网行业学习和成长的专业平台,求职、学习、竞赛等。主要是提供免费的校招题目。
04-学IC验证
chipverify

chipverify,不仅包括SV、UVM语法介绍,还包括一些小型项目可以增加对验证的熟悉。
5、IC学习社区
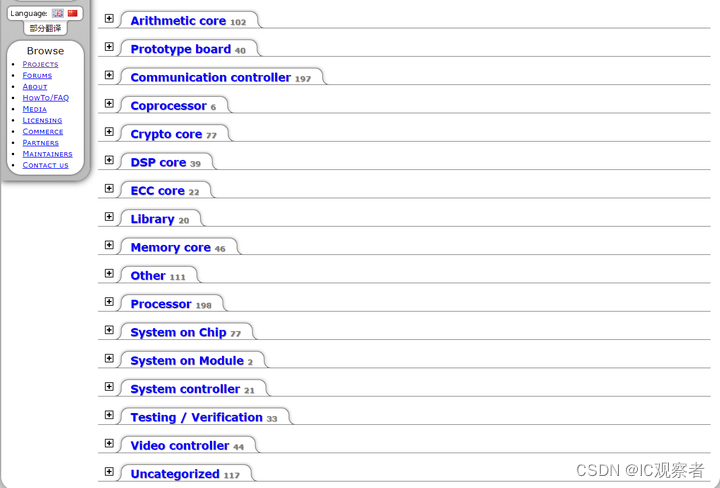
opencores.org主要用于开发开源硬件 IP核心的网站和社区
以上就是给大家推荐的芯片行业的宝藏网站啦,快快收藏起来吧!